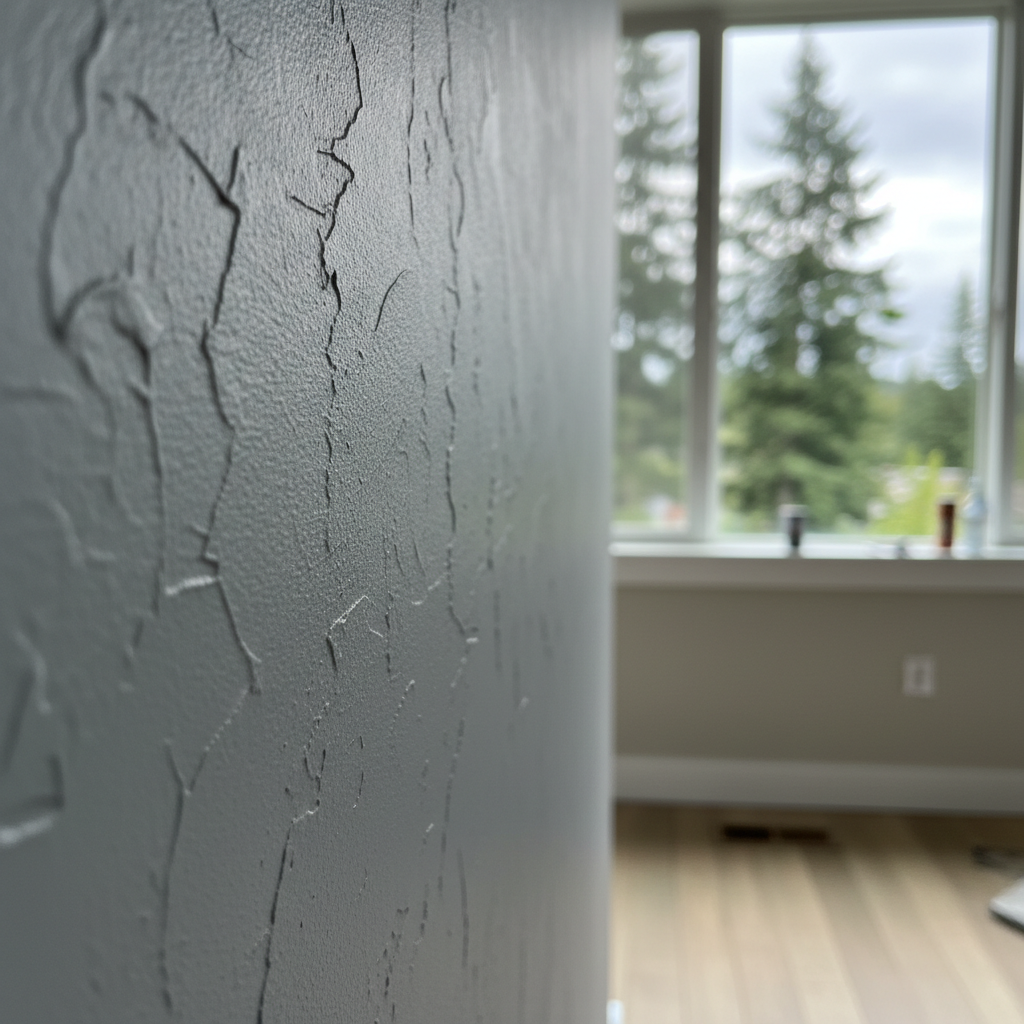
So, you're looking at those walls and thinking, 'Time for a change.' Interior painting seems pretty straightforward, right? Just grab a brush, a can of paint, and go to town. Well, it *can* be, but if you want professional-looking results that actually last, there's a lot more to it. As someone who's painted homes all over Shoreline for years, I've seen it all – the good, the bad, and the 'oh dear, what happened here?'
Before You Even Think About Paint
Prep work. I really can't stress this enough. This is where most DIY projects go sideways. You could buy the fanciest, most expensive paint on the market, but if your walls aren't ready, it's going to look like garbage. Here's what you absolutely have to do:
- Clear the Room: Move all furniture out, or at least push it to the center and cover it completely. Don't skimp on the drop cloths, seriously. You'll thank me later.
- Clean the Walls: Grease, dust, grime – all of it needs to go. A simple wipe-down with a damp cloth and a mild detergent (like TSP substitute) works wonders. Rinse well. Especially in kitchens or bathrooms, you'd be surprised what builds up.
- Repair Imperfections: Nail holes, dings, cracks from settling – fill 'em with spackle or joint compound. Then sand smooth. This step is critical; if you don't fix it now, the paint will just highlight every single flaw. I've seen homes in neighborhoods like Richmond Beach, where older plaster can have hairline cracks; you really gotta address those.
- Tape, Tape, Tape: Use good quality painter's tape. Spend the extra few bucks, trust me. Tape off trim, ceilings, windows, outlets. Press it down firmly. A sharp line makes all the difference in the world.
- Prime Time: Don't skip primer, especially if you're changing colors drastically, painting over stains, or dealing with new drywall. Primer helps the paint stick better, gives you a uniform surface, and often saves you a coat or two of your more expensive topcoat.
If you're looking at this list and thinking, 'That's a lot of work,' you're absolutely right. It is. But it's non-negotiable for a good finish.
During the Painting Process
Okay, walls are prepped. Now for the fun part. Or what *should* be the fun part.
- Good Tools Matter: Don't buy the cheapest brushes and rollers. A decent quality brush (2-2.5 inches for cutting in) and a good roller cover (⅜-inch nap is usually a safe bet for most walls) will make your life so much easier and give you a better finish.
- Cut In First: Use your brush to paint along the edges where the wall meets the ceiling, trim, and corners. Do about a 2-3 inch band.
- Roll it On: Load your roller evenly. Don't press too hard; let the roller do the work. Work in W or M patterns, then fill in. Overlap your strokes slightly.
- Two Coats (Usually): Most paints need two coats for full coverage and durability. Let the first coat dry completely according to the manufacturer's instructions before putting on the second. Don't rush it.
One common mistake I see is people trying to stretch the paint too thin or not letting coats dry. You just end up with a patchy, uneven look. Be patient.
After the Paint Dries
Once everything is dry to the touch, carefully remove your painter's tape. Pull it off at a 45-degree angle for the cleanest lines. If you wait too long, the paint can cure onto the tape and peel off with it, which is incredibly frustrating. Clean your tools properly if you want them to last. Latex paint cleans up with soap and water, easy peasy.
When to DIY vs. When to Call Top Notch Painting Inc.
So, when is it a good idea to tackle it yourself, and when should you pick up the phone?
DIY if:
- You're painting a small, simple room with minimal furniture.
- You have plenty of time and patience for the prep work.
- You're comfortable on a ladder and don't have super high ceilings.
- You're not dealing with any major wall damage or tricky surfaces.
Call a Pro (like us!) if:
- You have vaulted ceilings, stairwells, or other hard-to-reach areas.
- You're painting multiple rooms or a whole house.
- Your walls have significant damage (large cracks, water stains, old wallpaper to remove).
- You want a perfectly smooth, flawless finish without any headaches.
- You simply don't have the time, energy, or desire to do all that prep and painting yourself.
- You're looking for specialized finishes or colors that need expert application.
Look, I'm a big believer in homeowners doing what they can. It's rewarding, isn't it? But I'm also a big believer in getting a job done right. Sometimes, the cost of a professional painter saves you more in time, frustration, and potential mistakes than you'd think. We've got the right tools, the experience, and the crew to get it done efficiently and beautifully. If you're in Shoreline and wondering if your project is a DIY or a 'call Top Notch Painting Inc.' job, just give us a shout. We're happy to talk through it with you.